Playing with The Demo Project
First time you open S2ENGINE it asks you if you want to create a new project or loading an existing one.
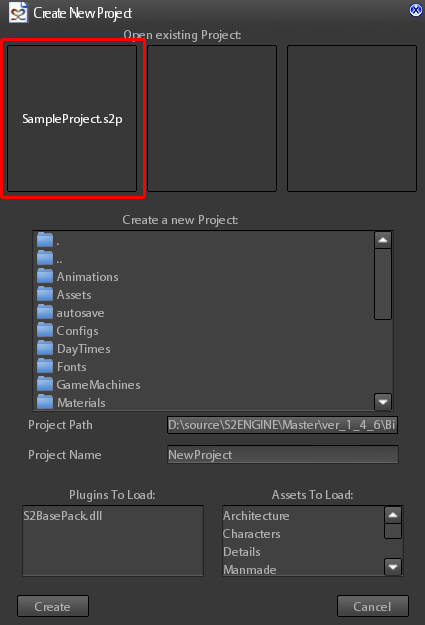
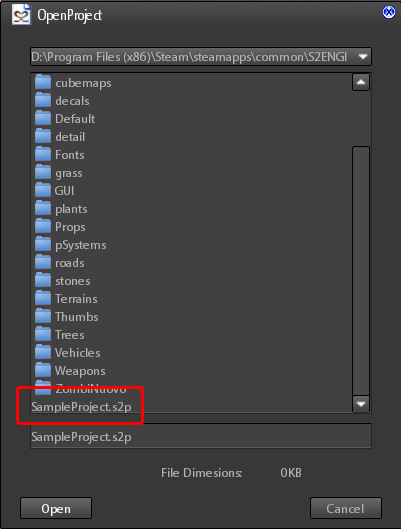
There is a project provided with the basic package called SampleProject. As showed into the following image, to open the sample project, click on sampleProject.s2p:
The last 3 scenes associated with the loaded project are showed.
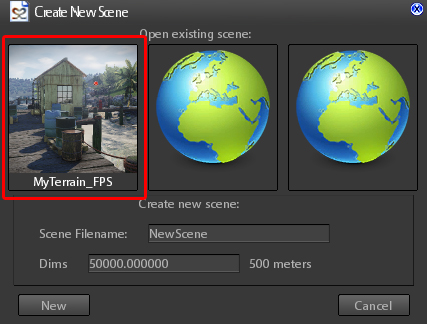
In the case of sample project there is only one scene called MyTerrain_FPS.
Click on the scene preview icon, as showed into the following image:
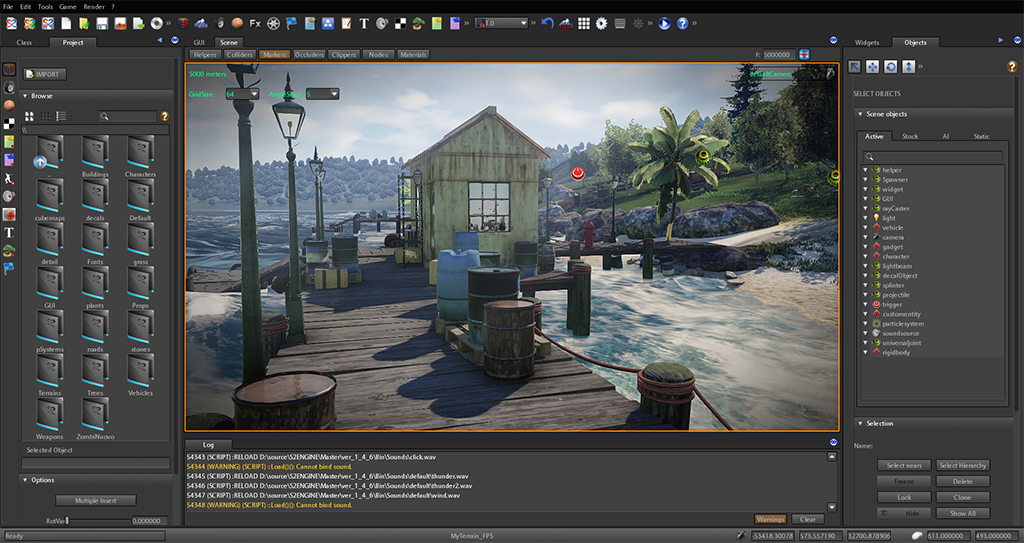
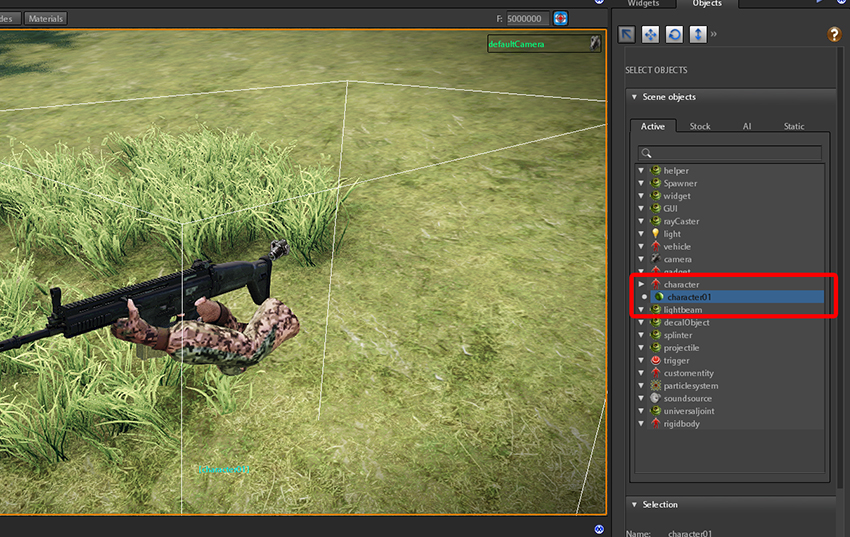
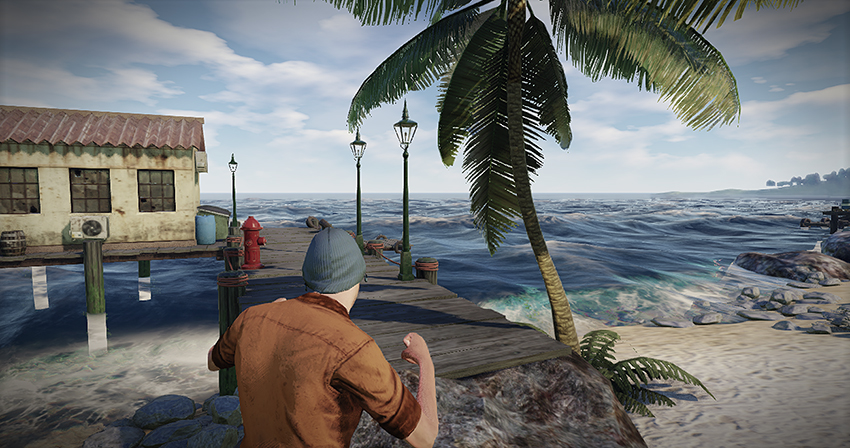
After scene loading, you should see somthing like the following image:
Press F5 shortcut to start the game from the current camera position. It is an example of FPS made using the visual scripting node-based system GameMachine.
Controls:
- w,a,s,d: move
- Left mouse button: shoot
- Right mouse button: aim
- Spacebar: jump
- Shift + w,a,s,d: run
- Mouse move: rotate
- Note
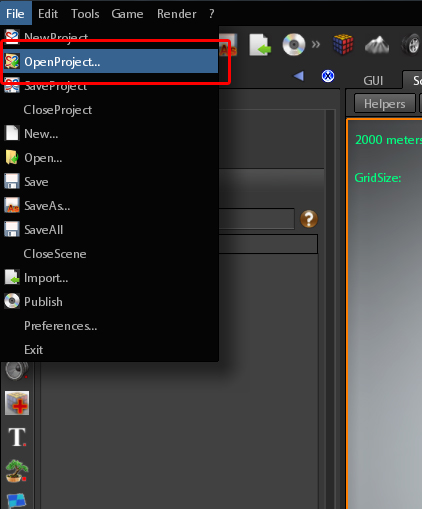
- If you want to load a project that doesn't appear into the startup dialog click on cancel and goto File->Open Project... as showed into the following image:
The file dialog will appear. Choose the project file to load.
Our example project resides inside the ver_1_4_6/SampleProject (or ../SampleProject) folder. Choose SampleProject.s2p file and click on Open button as showed into the following image:
Third Person Control
Inside the sample project there is a prefab containing a character using a GameMachine for third person control.
To play with it, instead of the FPS character, follow the instructions below:
- First we have to delete the FPS player
- Select the FPS player from the current scene. You can click on it directly inside the scene viewport or select the character01 itam of the Active list:
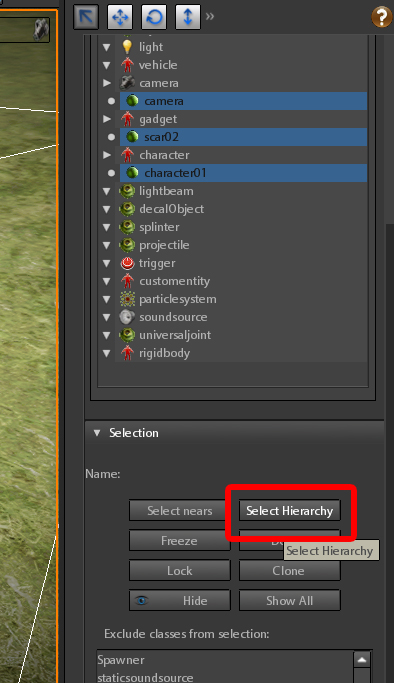
- Click on selectHierarchy button as showed into the following image:
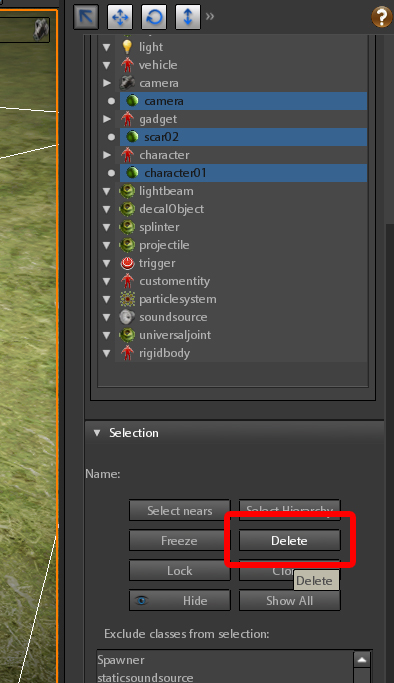
- To delete selected objects Press DEL key or click on delete button as showed into the following image:
- Now we have to insert the third person character
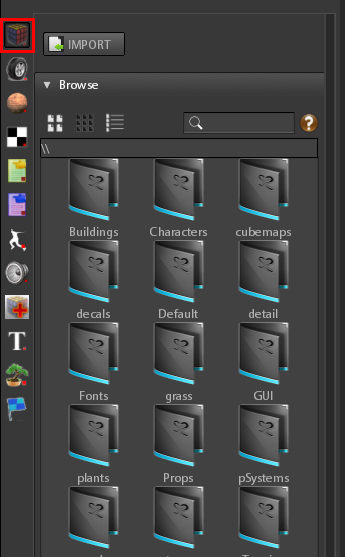
- Open the Prefabs browser as showed into the following image:
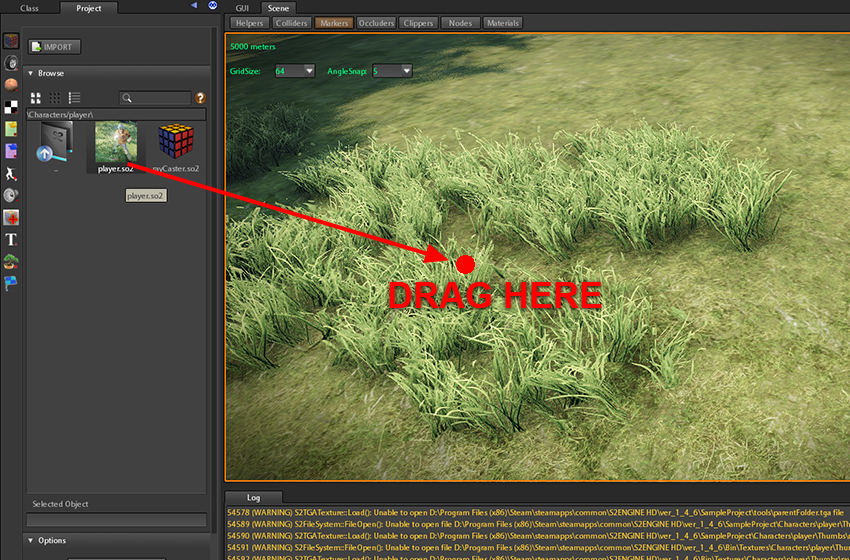
- Choose Character/Player folder. You will see something like the following image, drag player.so2 icon into the scene viewport:
- Warning
- When placing the character into the scene take care it is upon the terrain, otherwise it will fall down.
In the case character fall down:
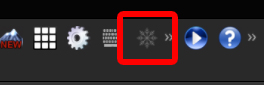
- Click on the freeze button:
- Select the character
- Select the Translate tool
- Move it up until it is on terrain
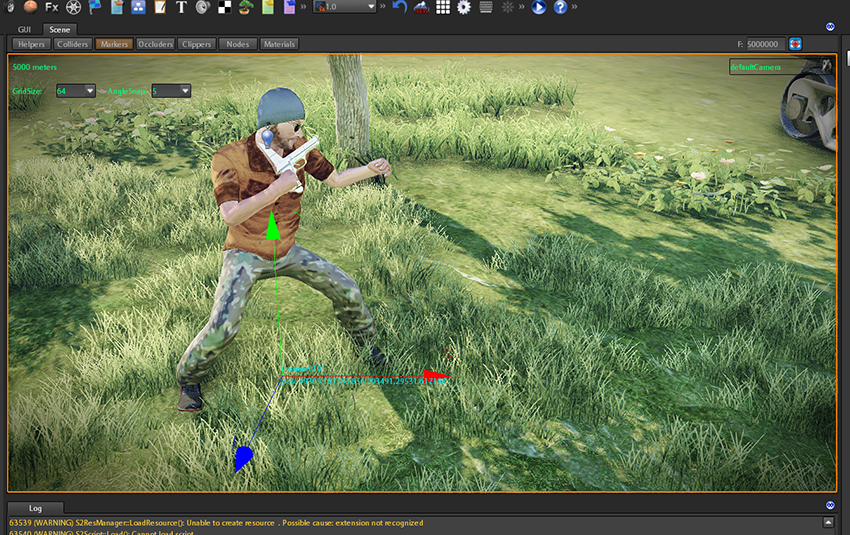
- Press F5 shortcut to start the game from the current camera position.
Controls:
- w,a,s,d: move character
- Mouse move: rotate camera \ select weapon in menu
- Right mouse button: aim
- Left mouse button: shoot (only when aiming)
- Spacebar: weapon menu
Creating New Scene
Before creating a new Scene you must have a project loaded.
See Project to learn how to create a new project.
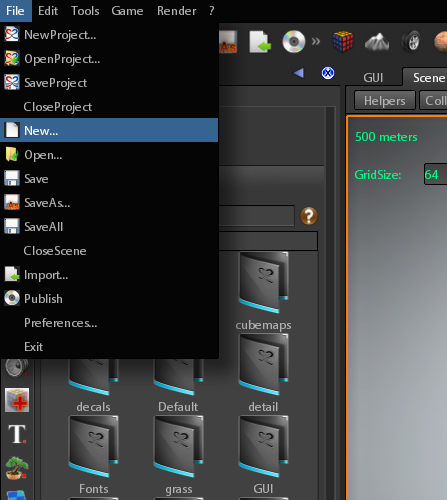
To Create a new scene select File->New... on the main menu as showed into the following image:
Alternatively you can:
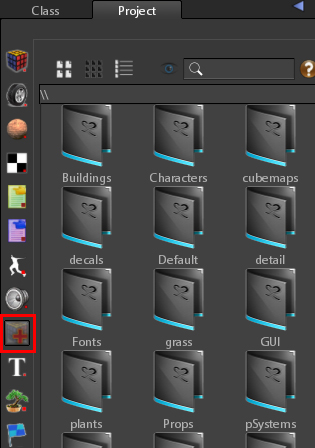
- Open the Scenes Browser by clicking the icon on the right of the project panel
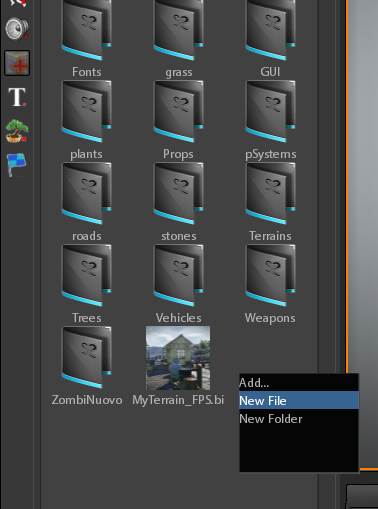
- Click right mouse button
- Select New File... on the appearing dropdown menu
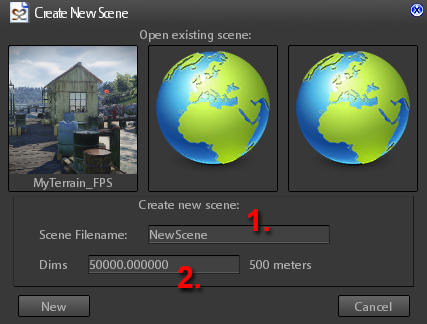
The NewSceneDialog will appear. It lets you to open an existing scene or create a new one.
You can change:
- The name you want to apply to the new scene and press Enter to accept the name written.
- Extensions of the new scene, i.e. the length of one side (you must insert it in centimeters, on the right you will see the value in meters).

 1.8.10
