|
S2ENGINE HD
1.4.6
Official manual about S2Engine HD editor and programming
|
|
S2ENGINE HD
1.4.6
Official manual about S2Engine HD editor and programming
|
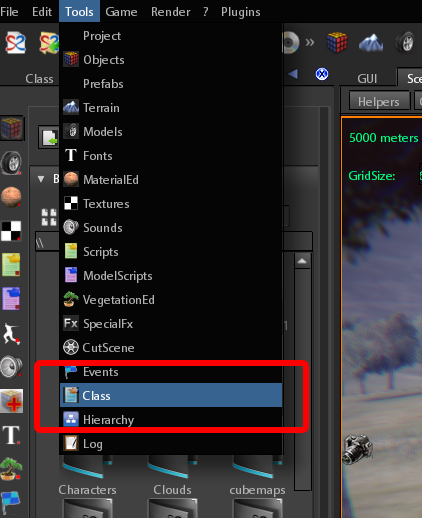
ClassInspector is the tool for creating new objects basing on available classes or for inspecting and editing the parameters of an object just existing into the scene. ClassInspector is just visible when editor starts, but if you close it and you want to reopen it just click on Tools->Class on the main menu:
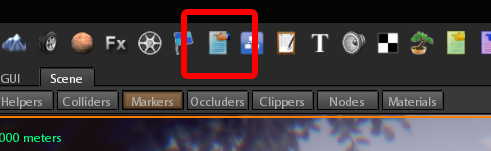
or click on the class icon:
The ClassInspector is divided in two sections: one, on the top, for object creation and one, below, for object editing.
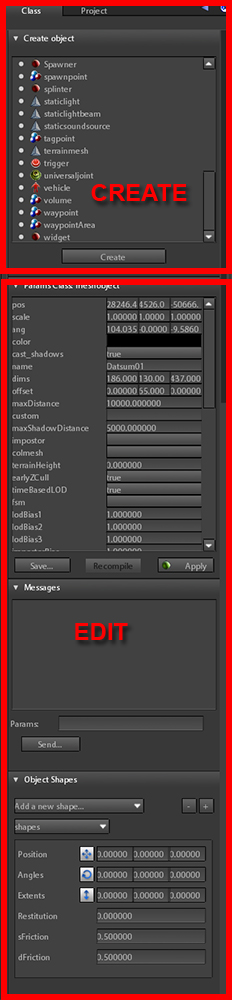
The object creation section contains the list, per DLL package, of all object classes available. To create objects from scratch please go to Creating objects
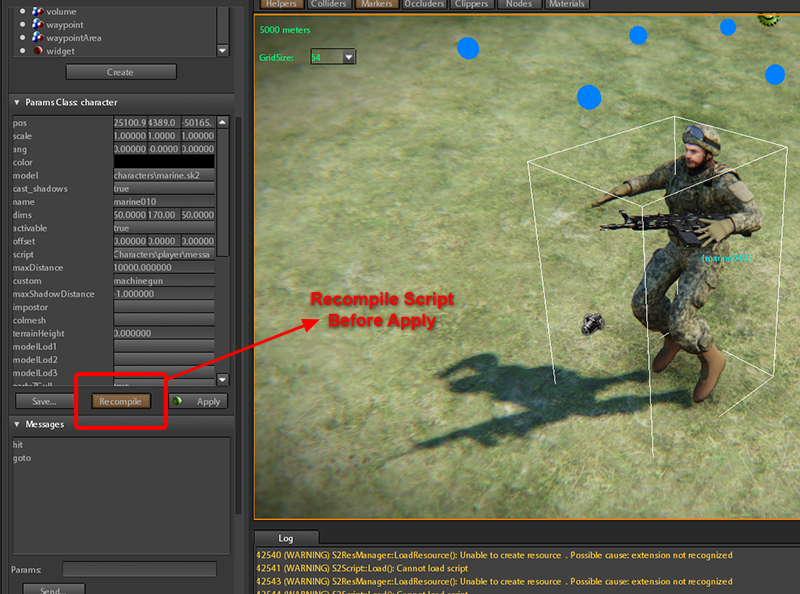
The parameters of an object that must be stored inside a prefab, and then placed inside a scene, can be edited using the PrefabsInspector, but if you want to edit parameters of an object just existing inside a scene, without being forced to save a prefab, you can use the object editing section of ClassInspector. Simply select the object you want to edit and its parameters will appear in the ClassInspector. When in Editor Mode, if object belongs to the StaticGeom class then parameter changes are instantly applied, for all other objects you must click on Apply button to view changes.
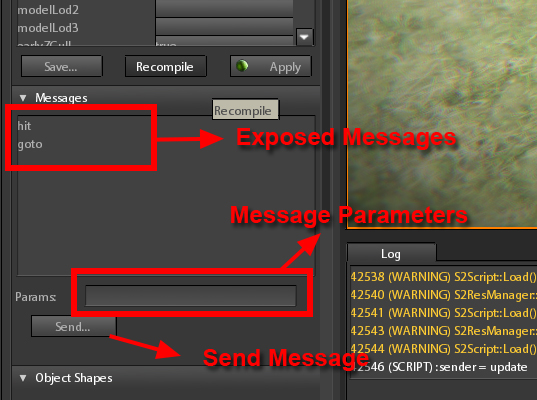
In S2Engine every object can send messages to other objects and it can process messages received from other objects (see Messages). Messages have a name and a content and can be delayed. Inside an object script you can expose messages (see Exposing messages) in order to make S2Engine editor sending messages to object directly in Editor Mode. This procedure is very useful if you want to test how object process the messages.
When changes applied the list of the exposed object messages appears in the message section. You can send messages to the selected object selecting that to send from the list and specifying parameters if selected message requires them, then clicking on the Send button, as showed into the following image:
As in PrefabsInspector also in ClassInpector you can add physics shapes to objects. The difference is that in PrefabsInspector Objects are stored into prefabs resources, in ClassInspector shapes are added directly to objects just placed inside the current scene.
In S2Engine Scene Objects have one base physics shape that can be configured using following object parameters:
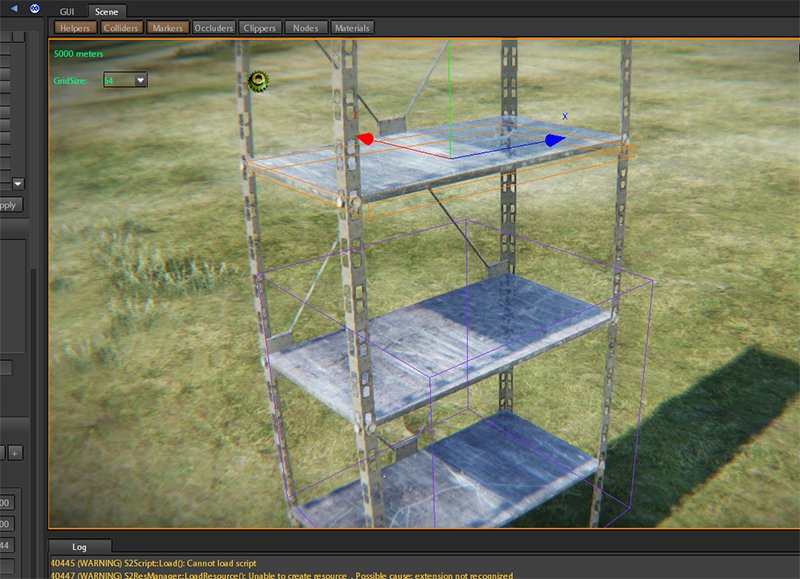
dims (vector3) used to define the extension of the collision shape.offset (vector3) used to define the position of the collision shape respect the origin of the object.coltype (enum) used to set the type of shape (box, cylinder, sphere,...).colmesh parameter without needing to configure dims and offset To show Collision data (also shapes) inside the SceneView you must click on Colliders check button
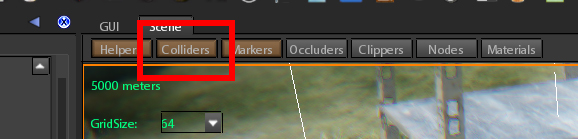
Base colliders are showed in violet color, secondary shapes are showed in orange.
Secondary collision Shapes are edited using the Object Shapes section of the ClassInspector
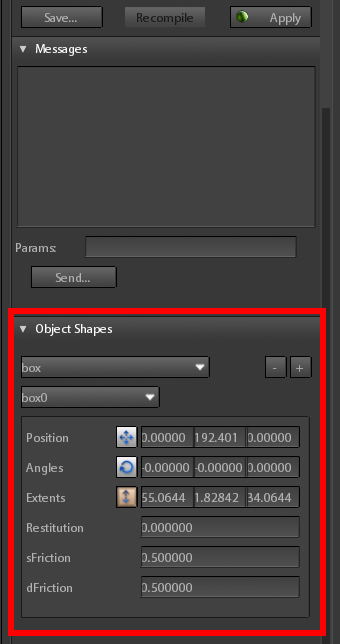
Its behavior is identical to the PrefabsInspector Shapes editing behavior.
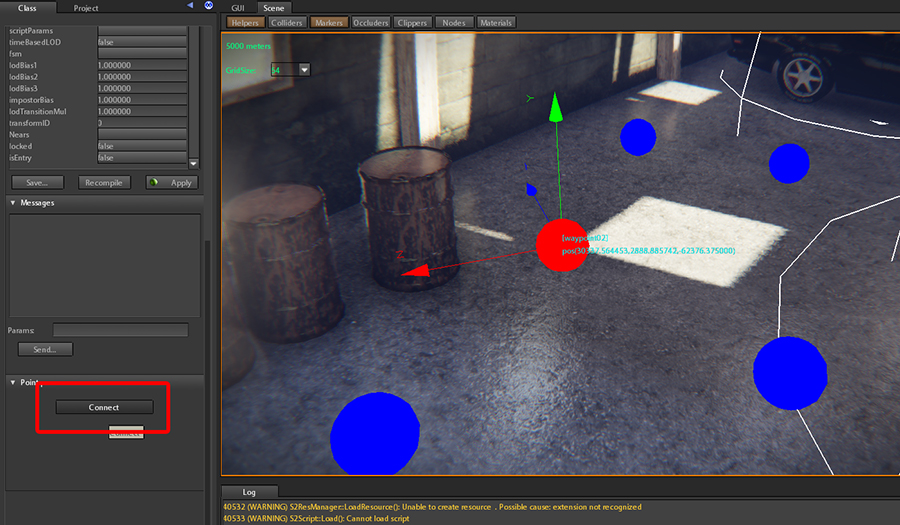
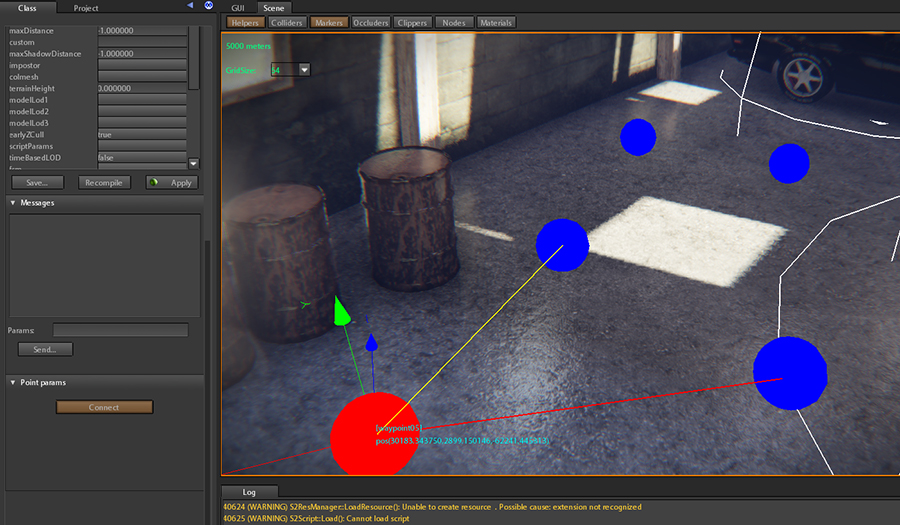
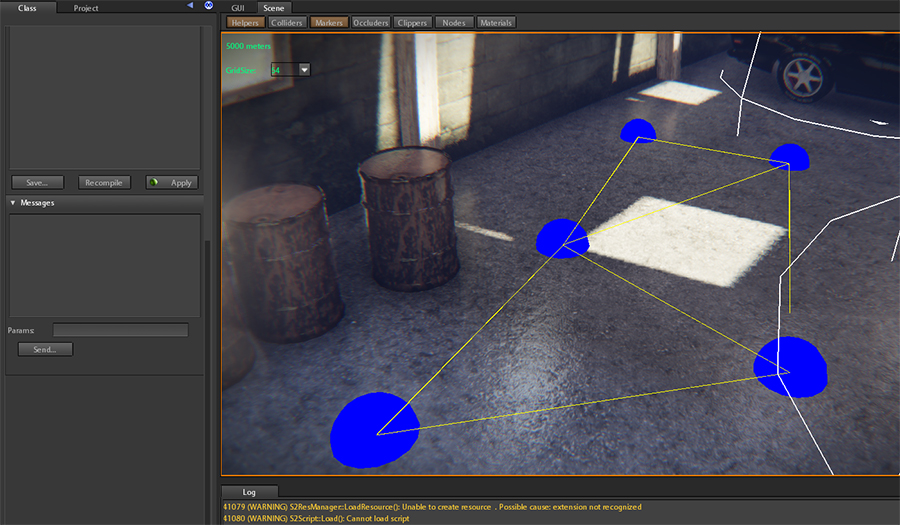
Points belongs to the AIObject class family. These type of objects are usually used as helpers for the AI system. Generally Points are created just as all other objects using the procedure explained in Creating objects. However there is a particular class of point, Waypoint, that needs a special treatment. Once you have created and places a set of waypoints, in the same ways as in Creating objects, you must connect them.

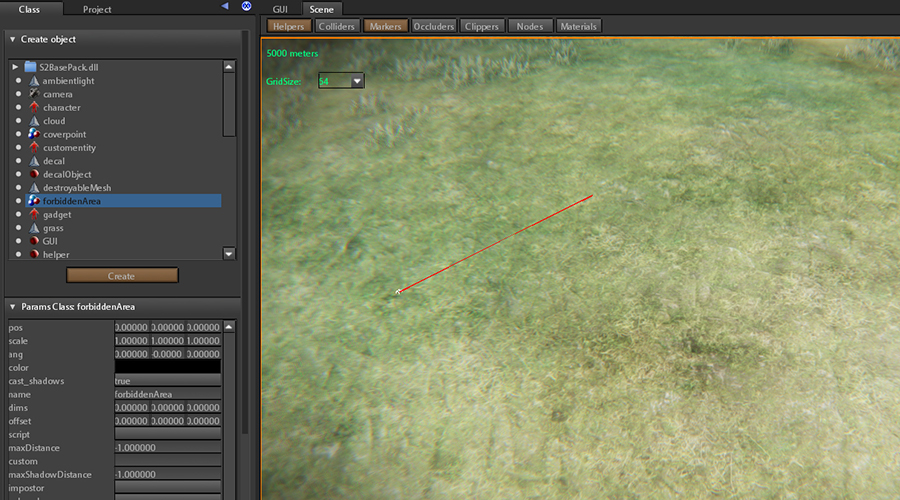
Areas just as Points belongs to the AIObject class family. To create an Area you can use creation tool just as for Creating objects with a bit of difference.

Then you can click inside the SceneView in the place you want to build the area, a red line starting from the point you clicked and ending to the mouse cursor will appear, clicking again you create the first segment of the Area.
a new red line appear, repeat the procedure until you close the area.
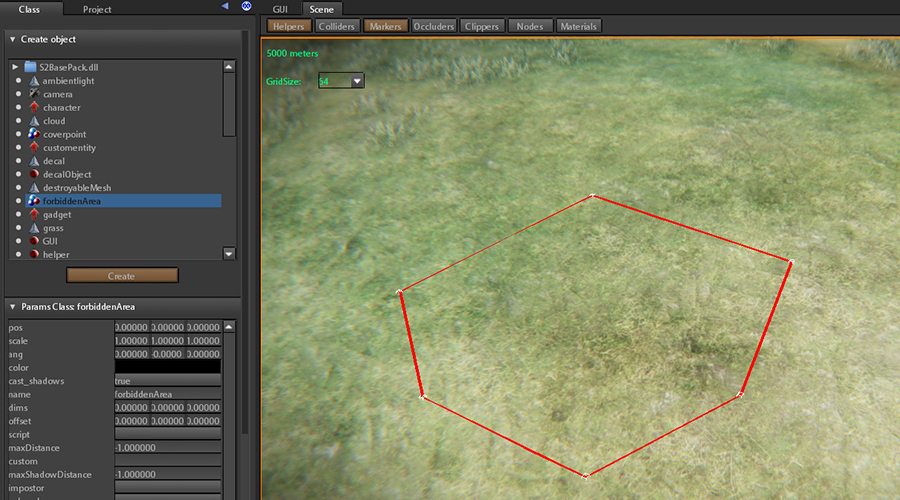
if you click on the starting point the area will be created.
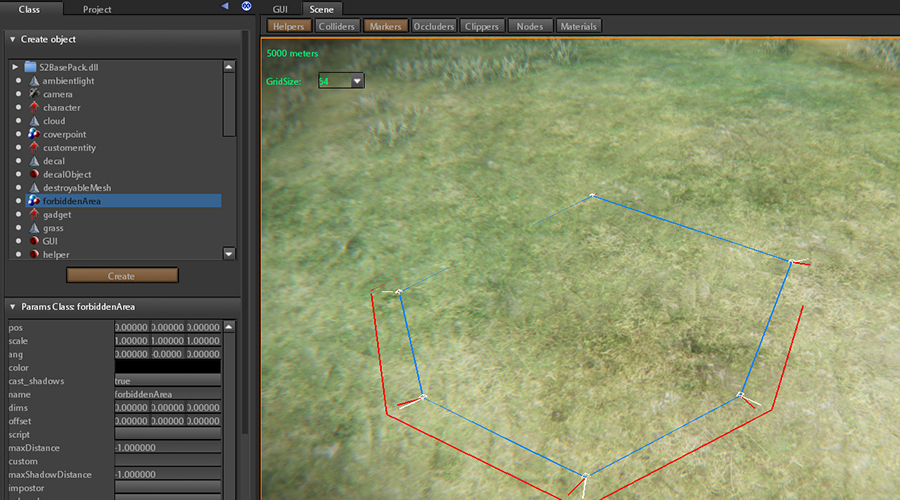
After creating the Area , uncheck the Create button. Now you can select, translate and rotate the area as all other objects. If you want to modify the shape of the Area , once selected you can click on the Reshape check button
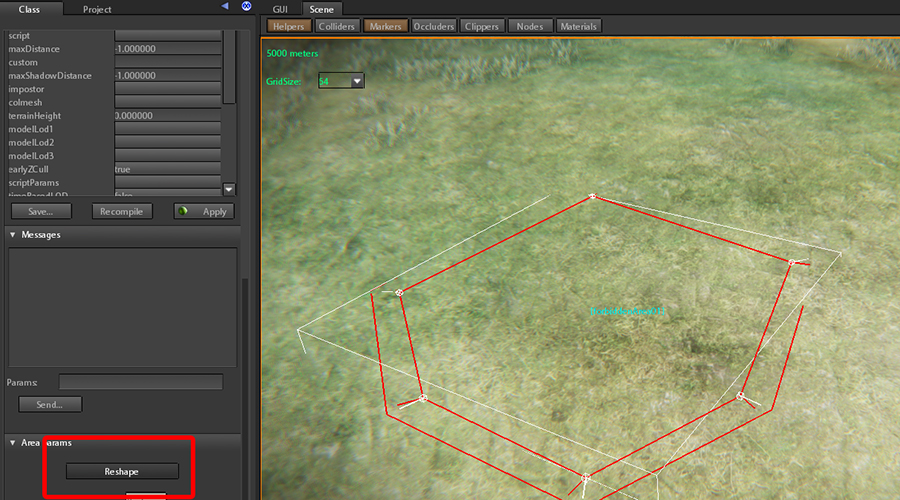
Then you can click on one of the area vertex and, left pressed mouse button, move it until you want.
 1.8.10
